

Appearance
Project Operations
Projects are the top-level organizational unit in EEforce. Each project contains one or more Containers (versioned design files) and has its own access control settings.
Naming Rules
Project names must follow Windows folder naming conventions:
- Forbidden characters:
<>:"/\|?*and control characters (ASCII 031) - Reserved names:
CON,PRN,AUX,NUL,COM1``COM9,LPT1``LPT9 - Cannot end with a space or period
- Must contain at least one valid character
See Microsoft naming conventions for full details.
Project Explorer
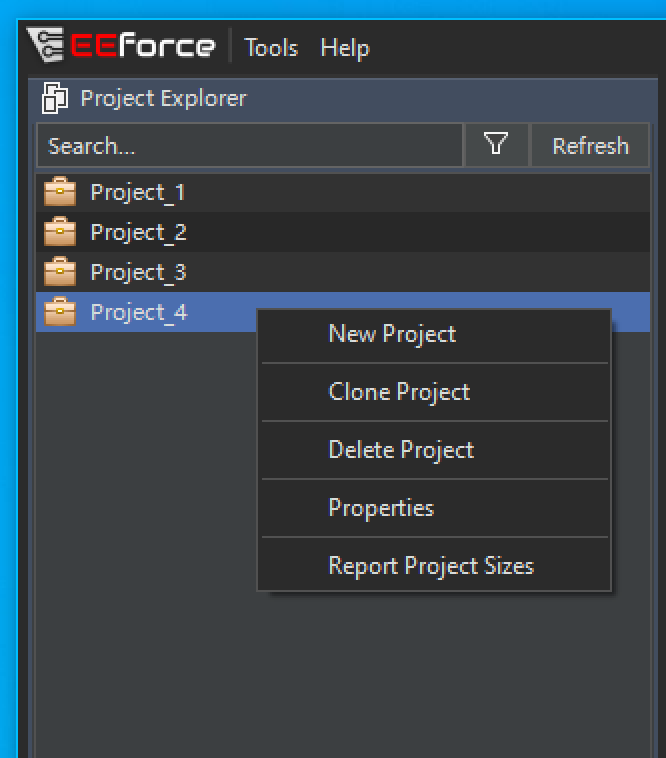
The Project Explorer panel displays all projects you have access to. It is the starting point for all project operations.
Filtering Projects
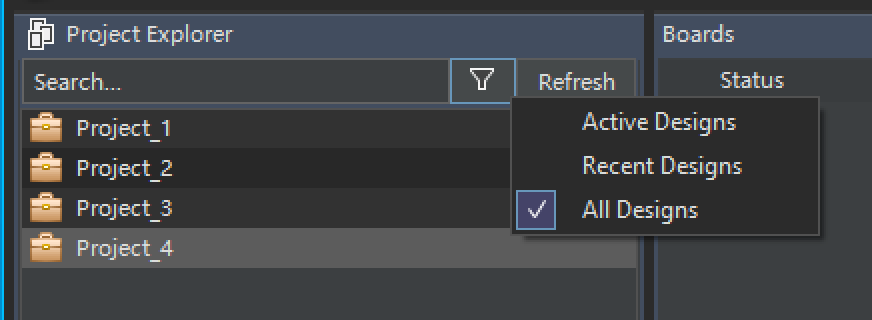
Use the filter bar at the top of the Project Explorer to narrow the displayed list:
| Filter | Shows |
|---|---|
| Active Designs | Projects with at least one checked-out container (by any user) |
| Recent Designs | Projects that have a local working folder on your machine (previously downloaded) |
| All Designs | All projects you have access to |
Filter preferences are saved and restored between sessions.
Project Status Icons
| Icon | Meaning |
|---|---|
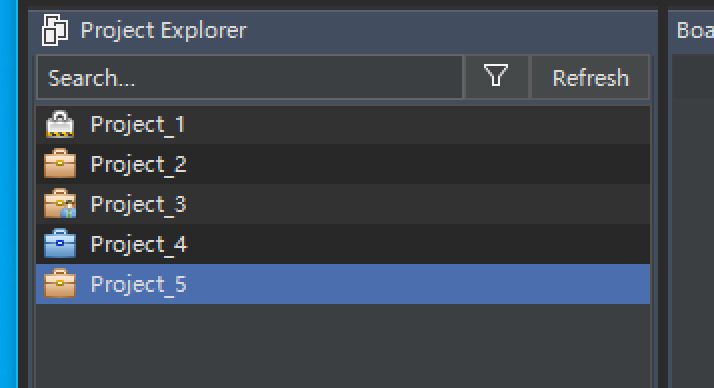
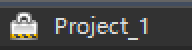 | Read-Only - You have Viewer access. You can open designs in read-only mode but cannot check out. |
 | Available - You have edit access and no one is currently working on the project. |
 | In Use by Others - You have edit access but another user has a container checked out. |
 | Active - You have a container checked out in this project. |
Creating a Project
Requires: Member of the Project Creators group or Project Administrators group.
Right-click anywhere in the Project Explorer.
Select New Project from the context menu.
In the dialog that appears:
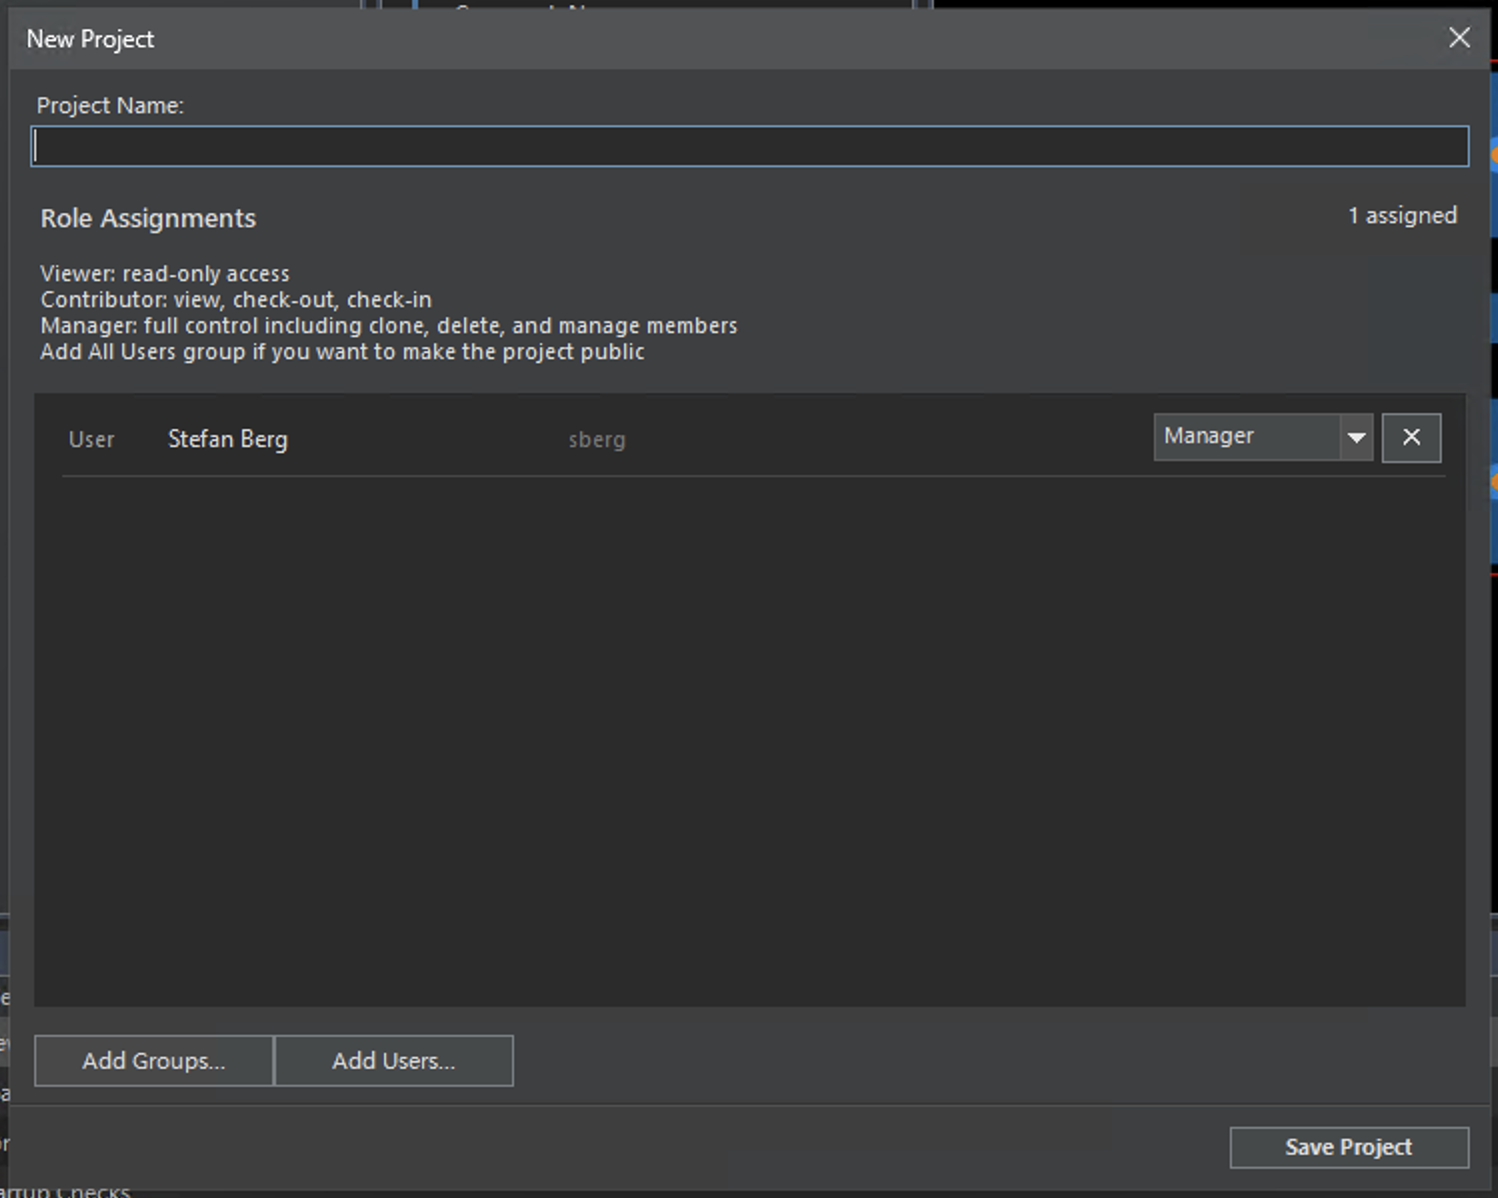
- Enter a project name.
- Add users and/or groups to the role assignment list and set their roles.
- Click Save Project.
The new project appears in the Project Explorer.
TIP
Only you and members of Project Administrators can manage the project until you add other users as Managers.
Renaming a Project
Requires: Manager role or Project Administrators membership. No active check-outs.
Right-click the project in Project Explorer.
Select Properties.
The Properties dialog appears:
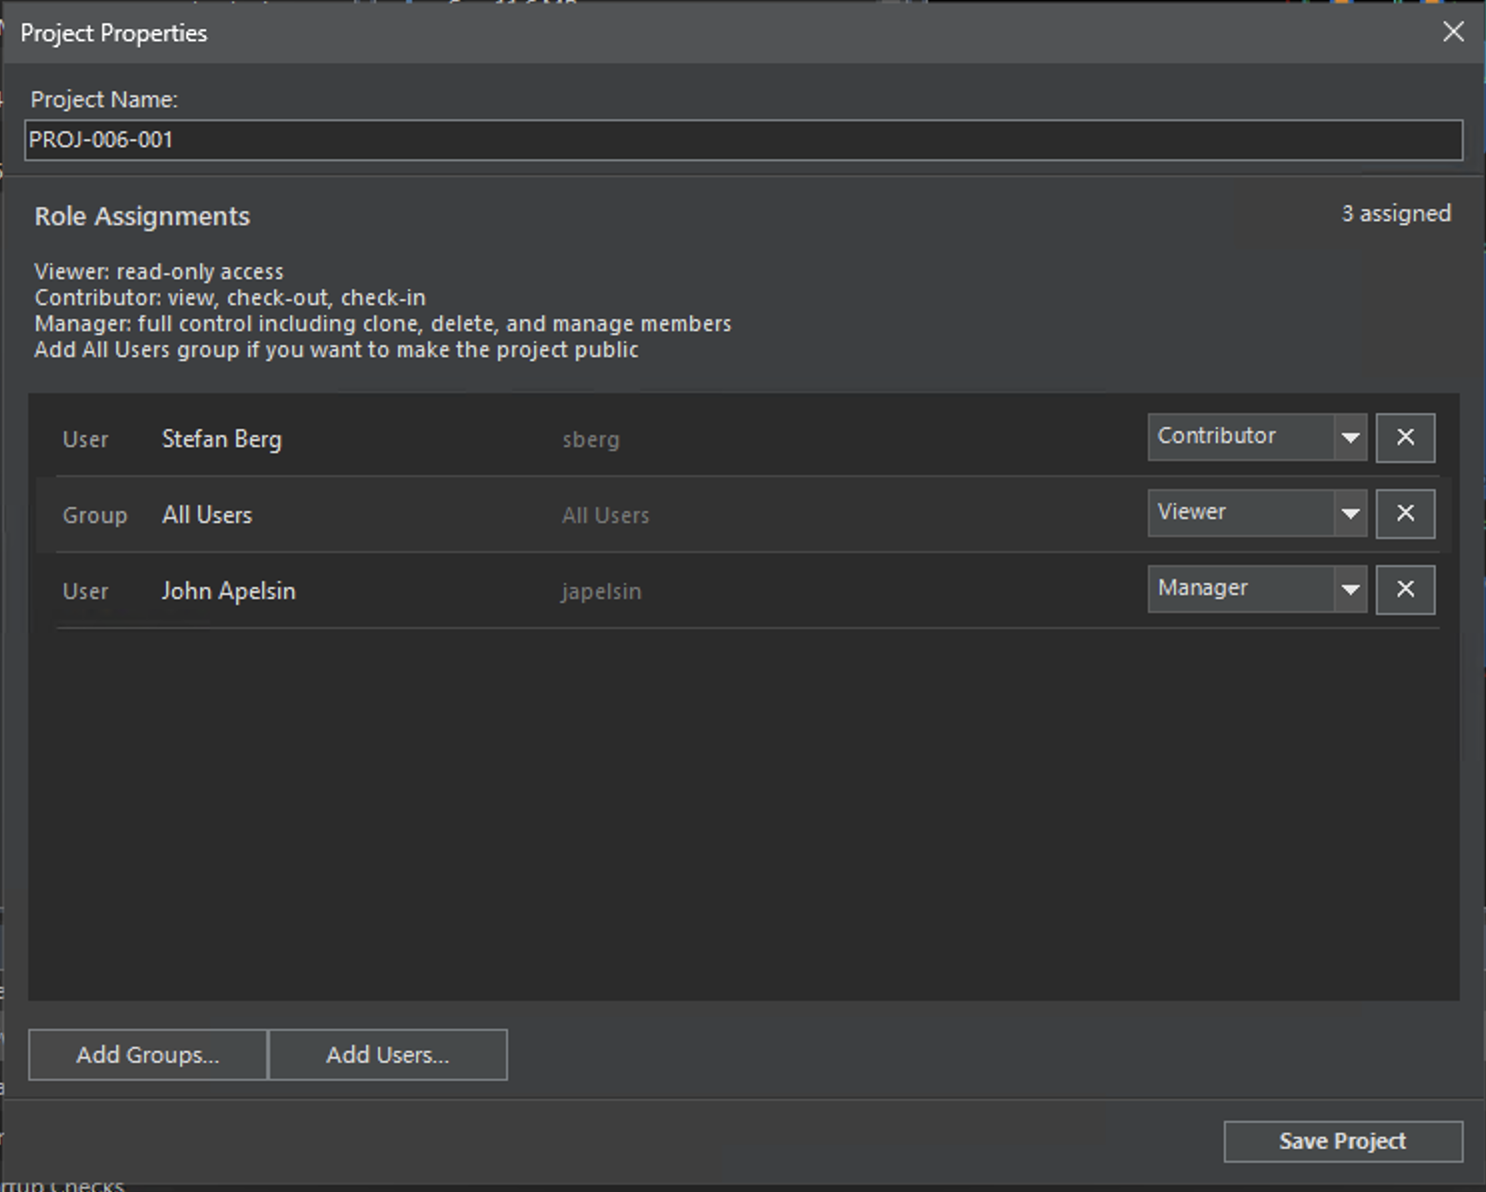
Edit the Project Name field.
Click Save Properties.
Managing Project Access
Requires: Manager role or Project Administrators membership. No active check-outs.
Right-click the project -> Properties.
In the Properties dialog:
- Click Add Groups... to assign groups with a role.
- Click Add Users... to assign individual users with a role.
- Use the role dropdown on each row to change assignments.
- Set a row to No Access to remove the assignment.
Click Save Properties.
For details on roles and how access is determined, see Access Model.
Cloning a Project
Requires: Manager role or Project Administrators membership. No active check-outs.
Cloning creates a complete copy of the project including all containers and their latest versions.
Right-click the project -> Clone Project.
Enter a name for the new project.
Click OK.
The cloned project appears in the Project Explorer.
INFO
Cloning copies design files but does not copy version history. The new project starts with version 1 of each container.
Deleting a Project
Requires: Manager role or Project Administrators membership. No active check-outs.
WARNING
Deleting a project removes all containers and their entire version history. The data is moved to the server's Trash folder and can be recovered by an administrator if needed.
- Right-click the project -> Delete Project.
- Confirm in the dialog that appears.
- The project is removed from the Project Explorer.
Batch Project Operations
For managing access across multiple projects at once, use the Batch Project Updater:
- Open Tools -> Batch Project Updater (available to Project Administrators).
- Select target projects.
- Configure the user and group assignments to apply.
- Check Override role assignments to replace existing assignments on the selected projects.
- Click Apply.
WARNING
Override replaces all existing role assignments on the selected projects with the new set. There is no undo.
See Access Model - Batch Updates for details.