

Appearance
Client Installation and Configuration
Prerequisites
| Requirement | Details |
|---|---|
| OS | Windows 10 x64 or Windows 11 x64 |
| Privileges | Administrator access (for installation only) |
| Storage | 4 GB+ free disk space; SSD recommended |
| Network | Stable connection to the EEforce server |
Installation
Step 1 - Download and Extract
Download the client package from the Support Portal or obtain it from your IT department. Extract the ZIP file.
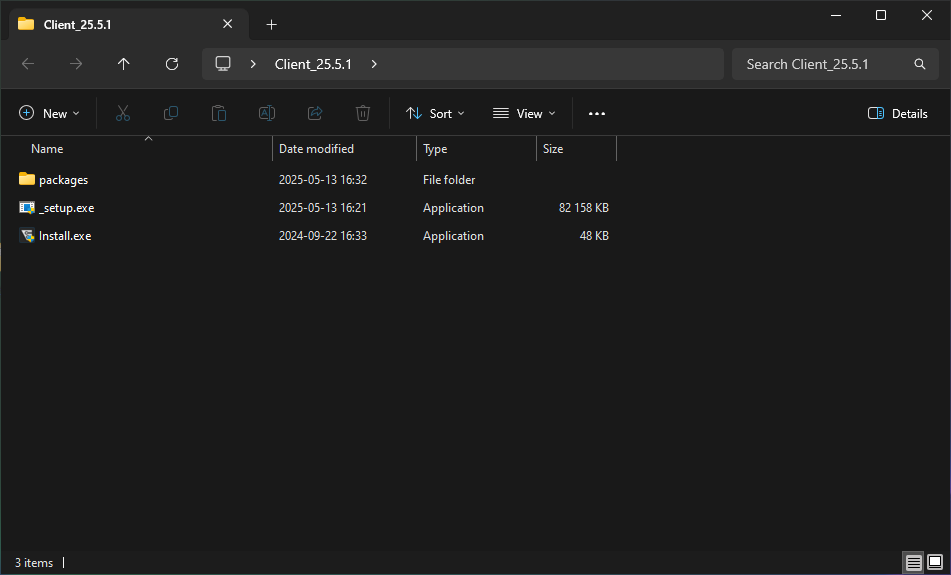
Step 2 - Run the Installer
Run Install.exe. Grant permissions if prompted. The installer checks for required runtimes and installs any that are missing.
Step 3 - Welcome Screen
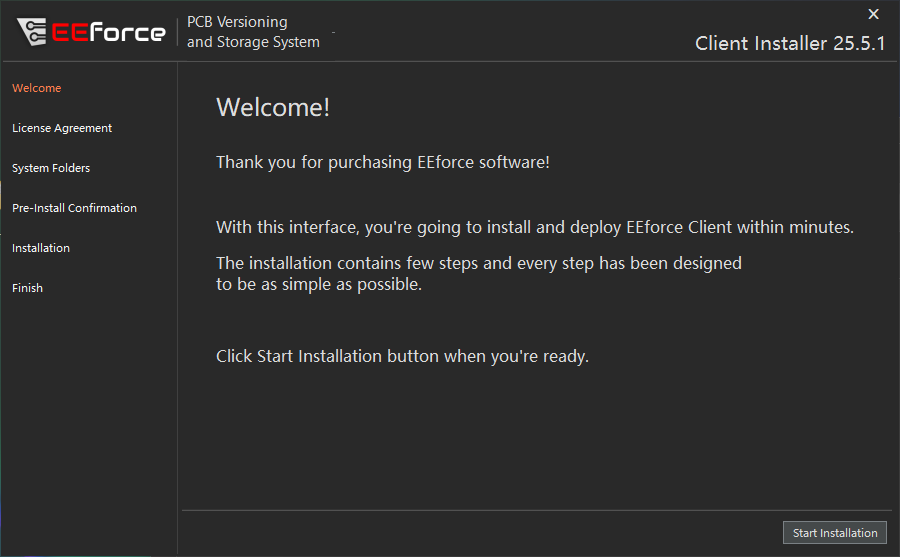
Click Start Installation.
Step 4 - License Agreement
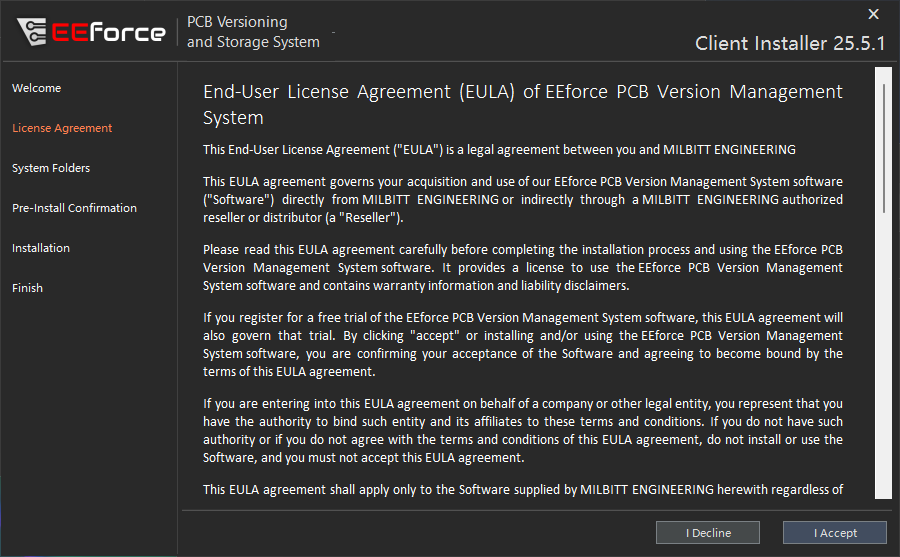
Read the End User License Agreement and click I Agree.
Step 5 - Choose Installation Folder
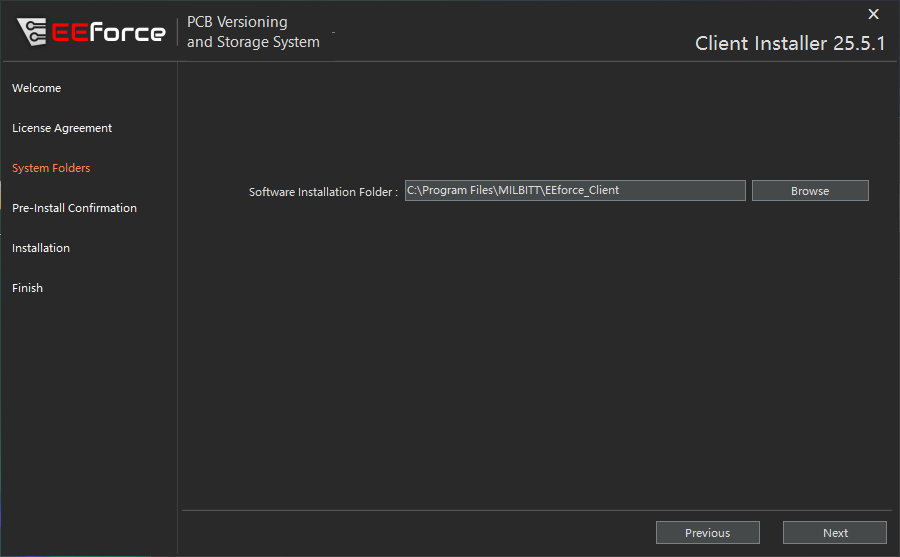
The default location is recommended. Required space is under 50 MB. Click Next.
Step 6 - Confirm and Install
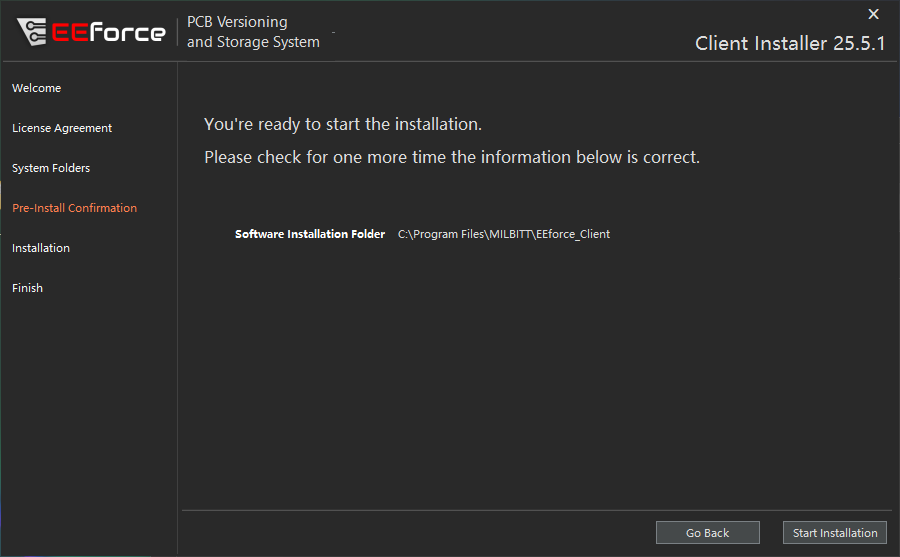
Verify the path and click Start Installation.
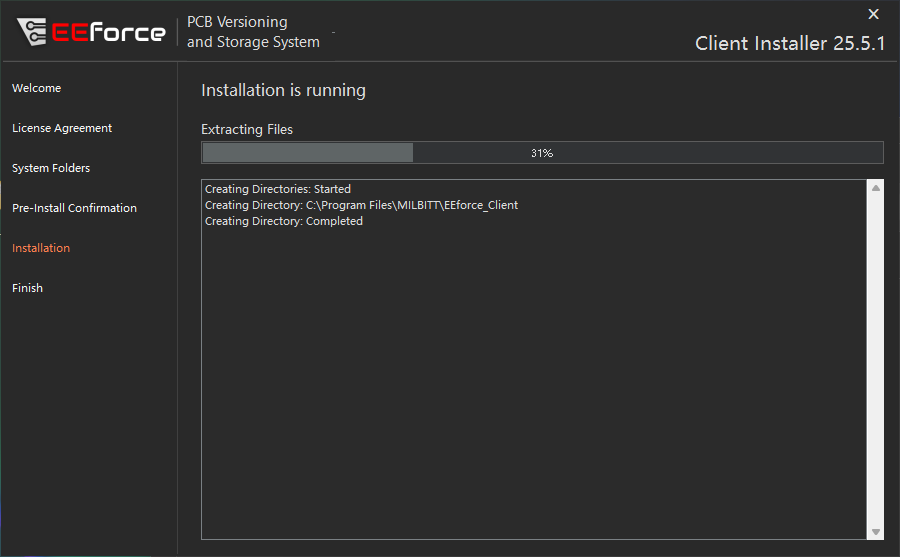
Step 7 - Complete
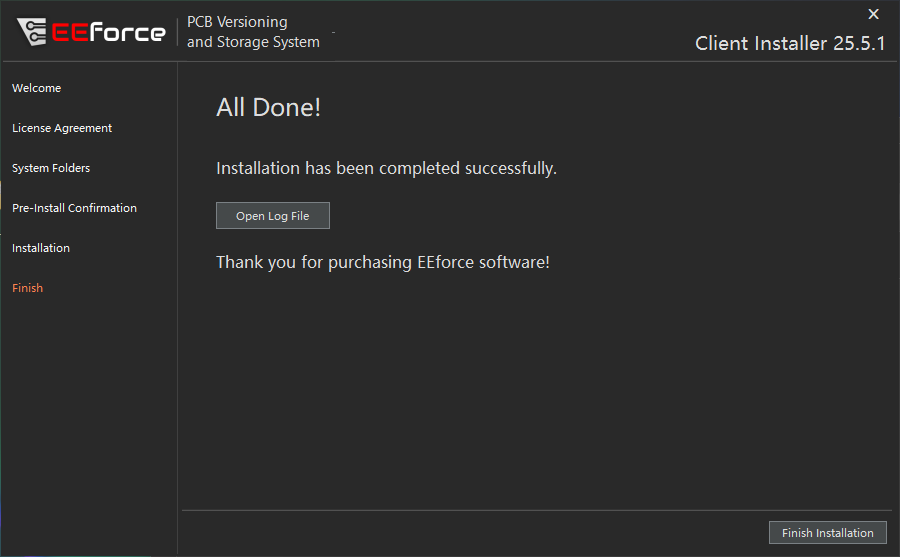
Click Finish Installation. The EEforce icon will appear on your desktop.
First Run
After installation, the client needs to be pointed at your server.
Connect to Server
Launch EEforce from the desktop icon.
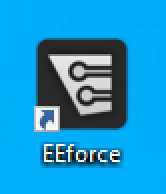
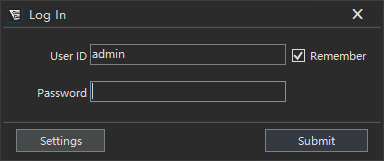
The login dialog appears. Click Settings.
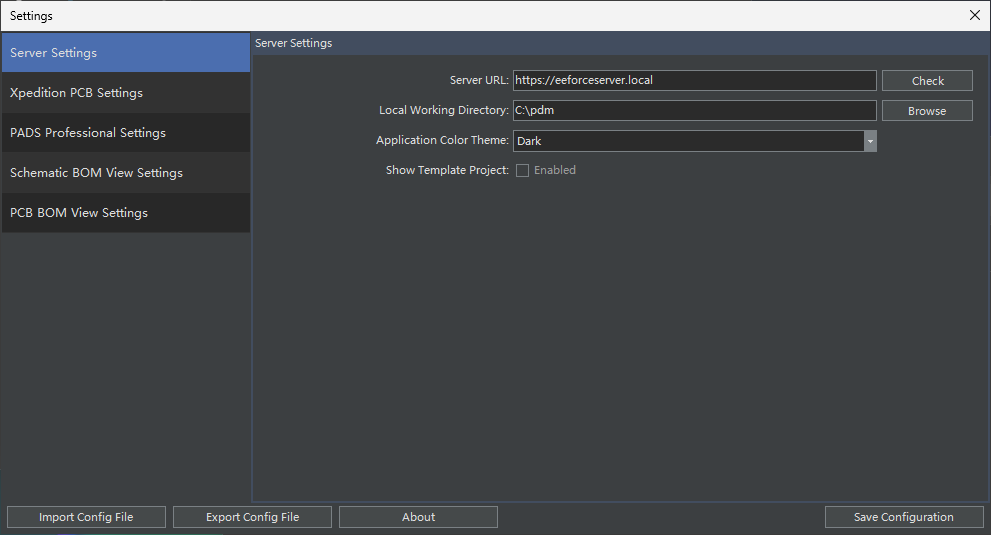
Enter the Server URL provided by your administrator and click Save Configuration.
Local Testing
If the server is installed on your local machine, use http://localhost:8000 as the Server URL.
Log In
Return to the login dialog and enter your credentials.
Default Admin Credentials (first-time setup only)
User ID:  admin
Password: Passw0rd
Change this password immediately after first login.
Select a License
After successful login, the license selection window appears:
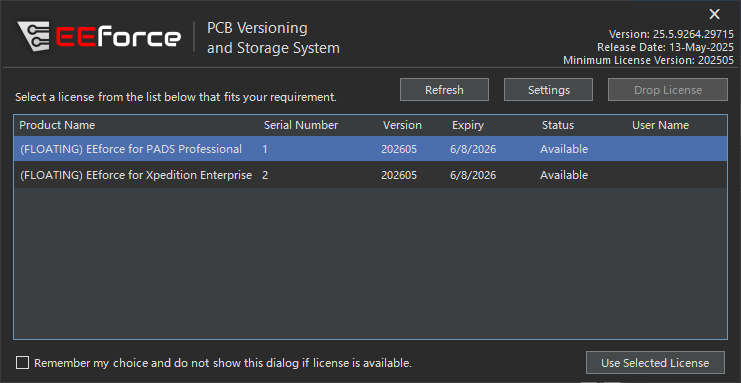
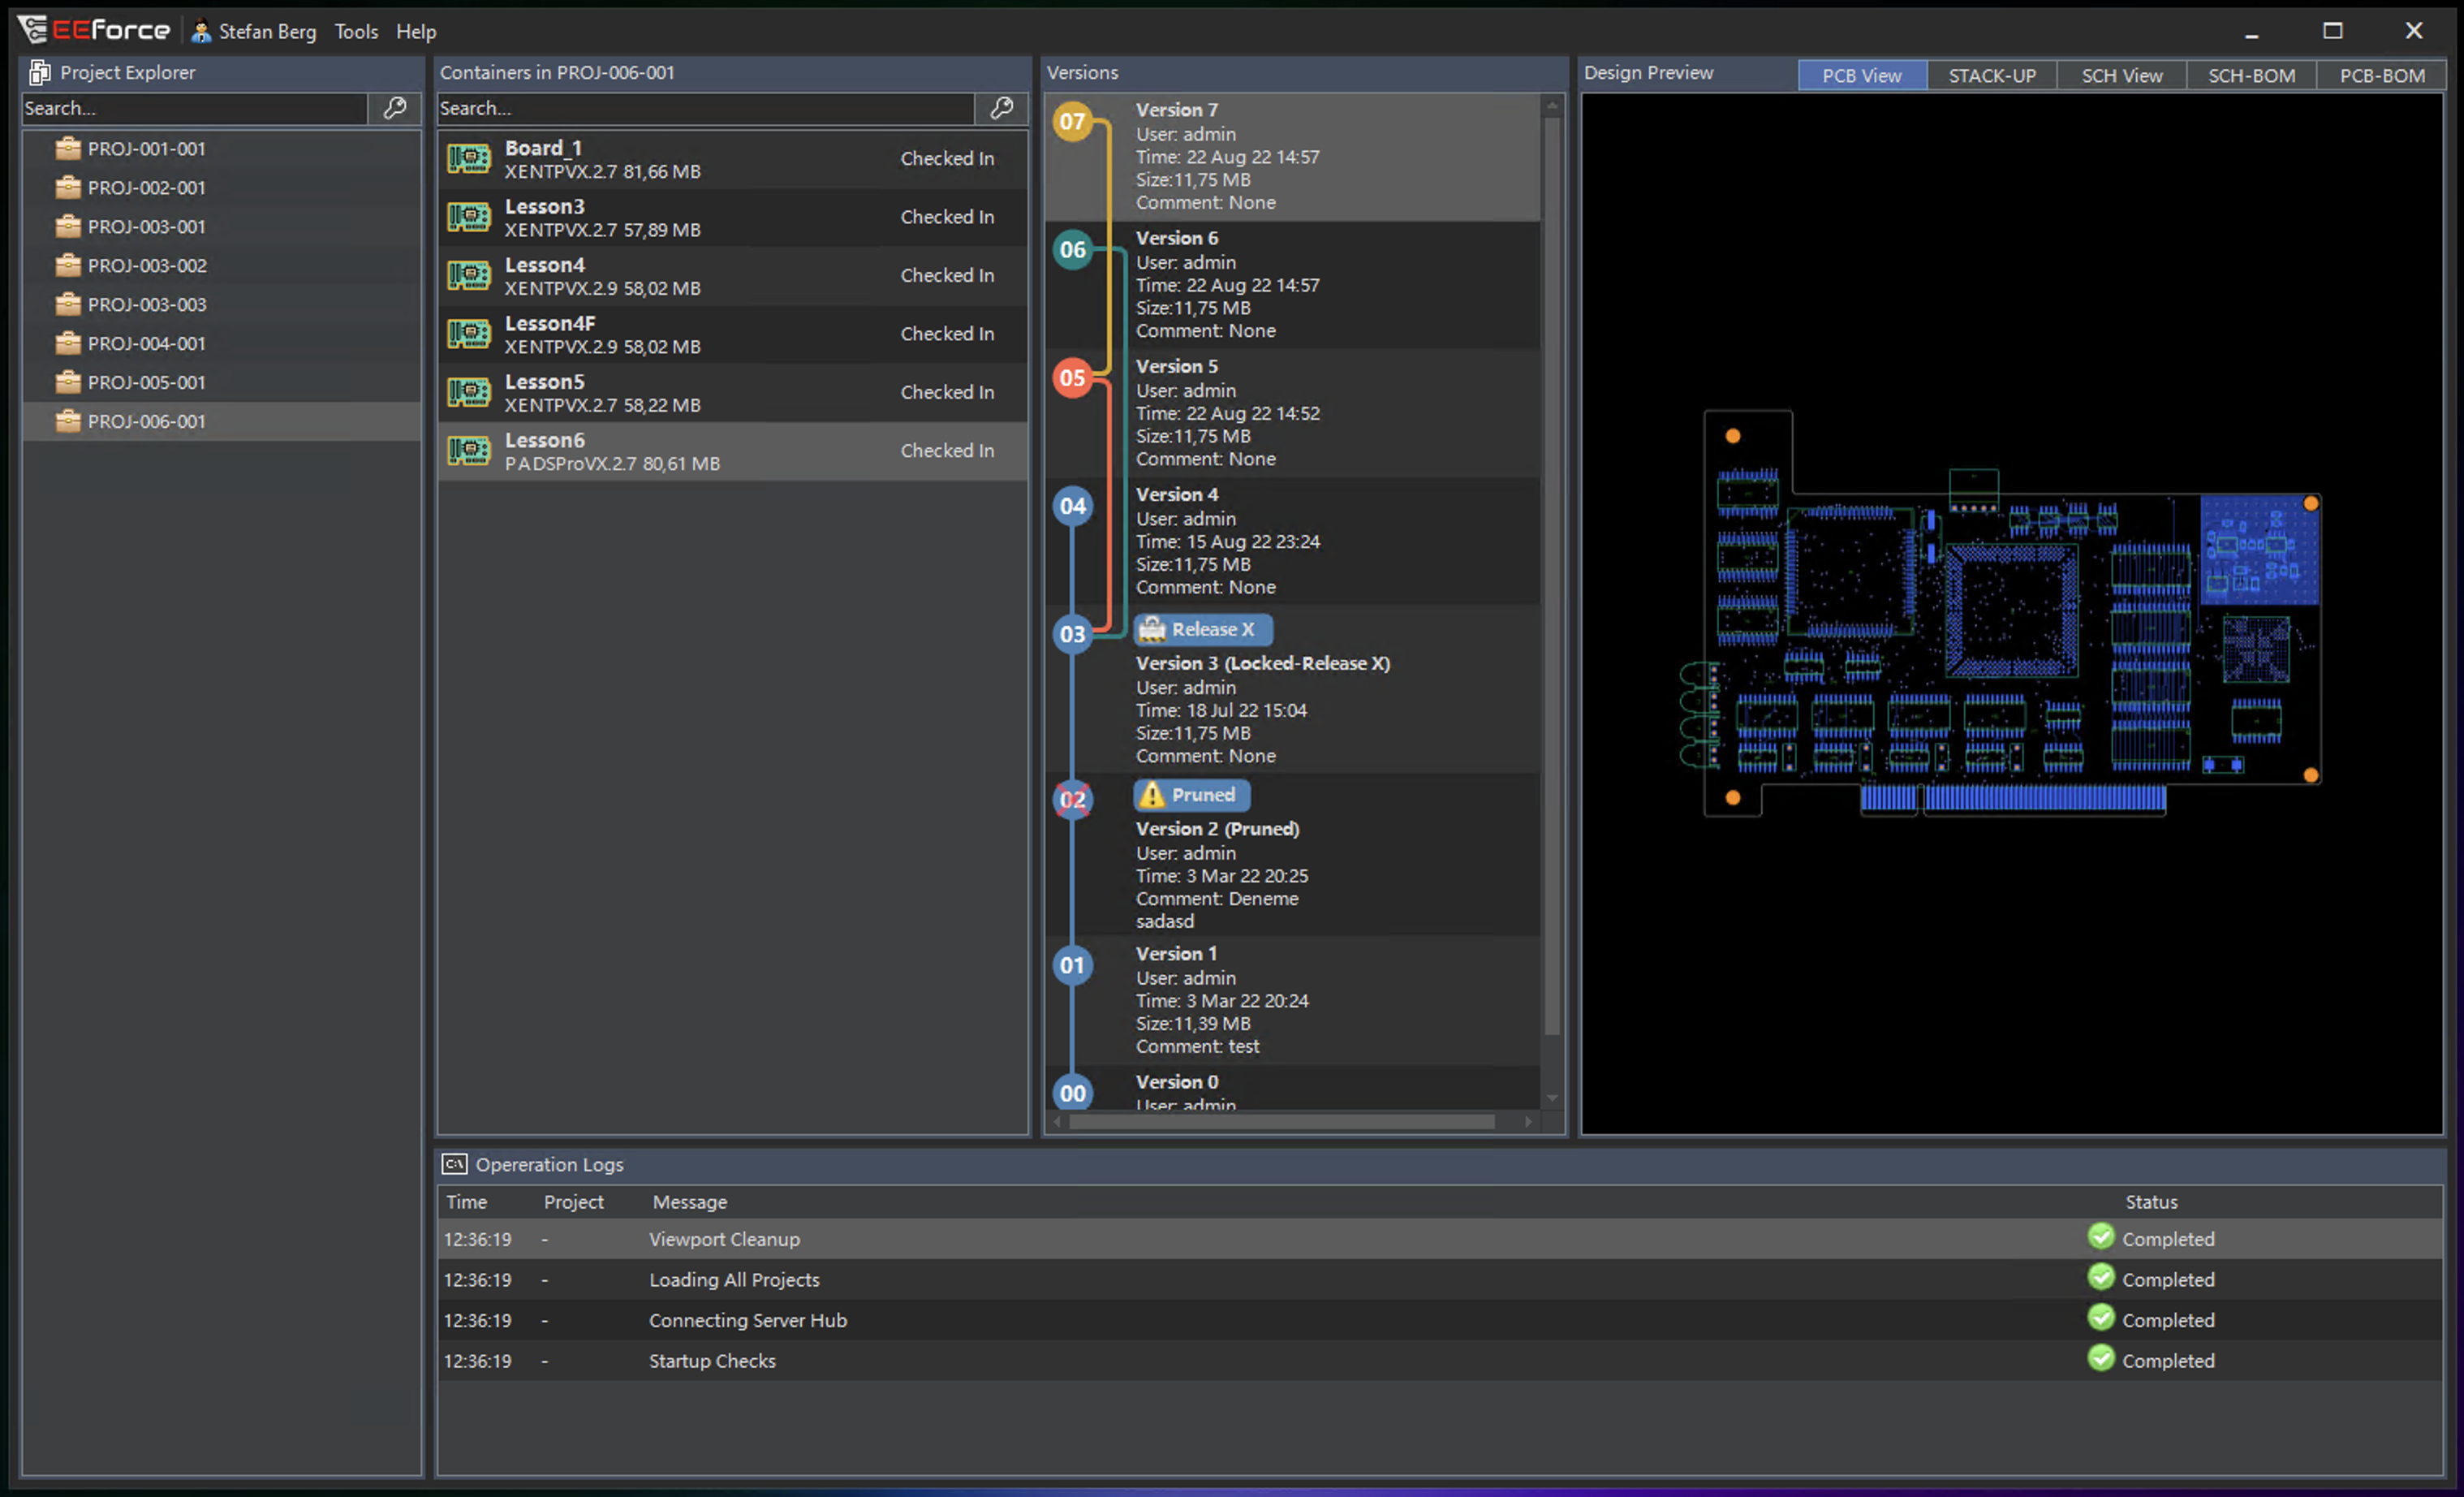
Select an available license and click Use Selected License. The main interface loads:
Configuration
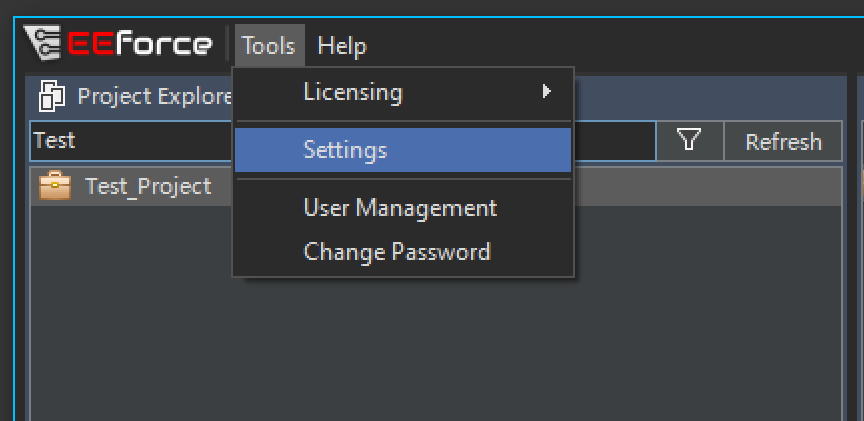
Open Tools -> Settings to access all configuration pages.
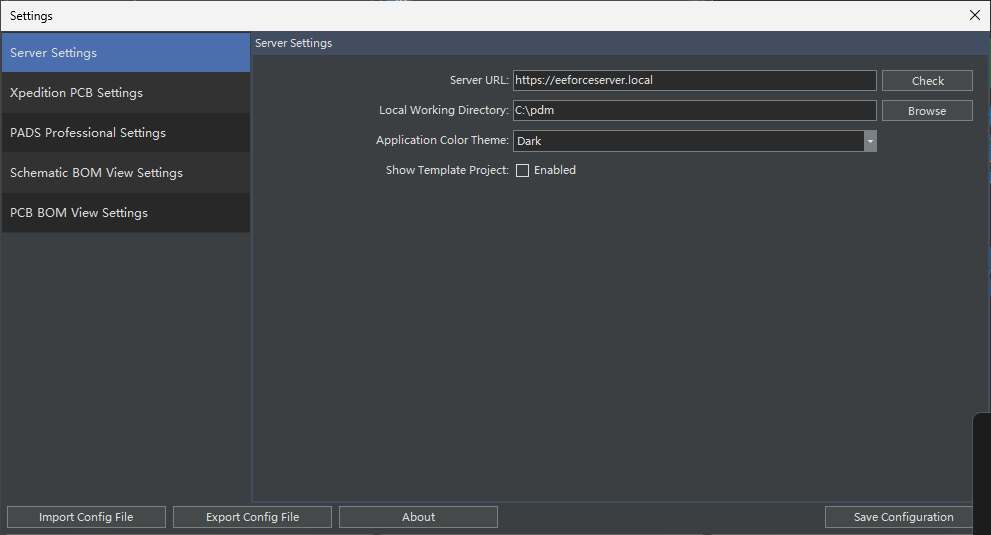
Server Settings
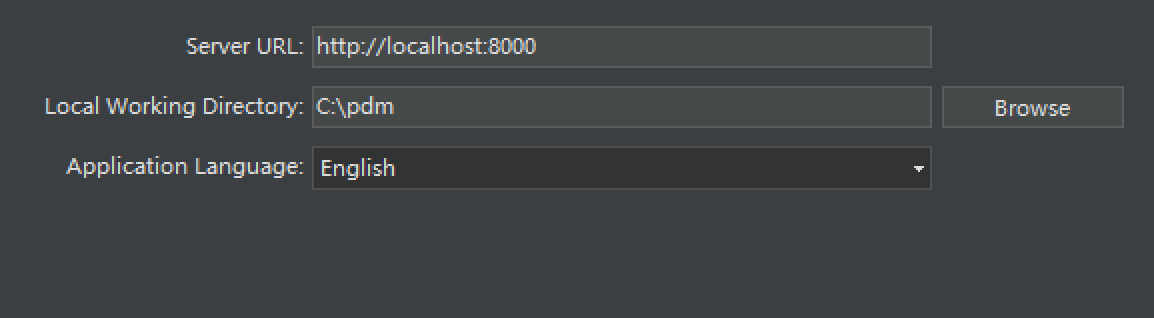
| Setting | Purpose |
|---|---|
| Server URL | Connection address for the EEforce server |
| Local Working Directory | Root folder for checked-out designs and local caches. Default: C:\pdm |
| Chunked Uploads | Split large uploads into smaller pieces for reliability on slow networks |
| Application Language | UI language |
| Application Theme | Dark or Light theme |
Xpedition Settings
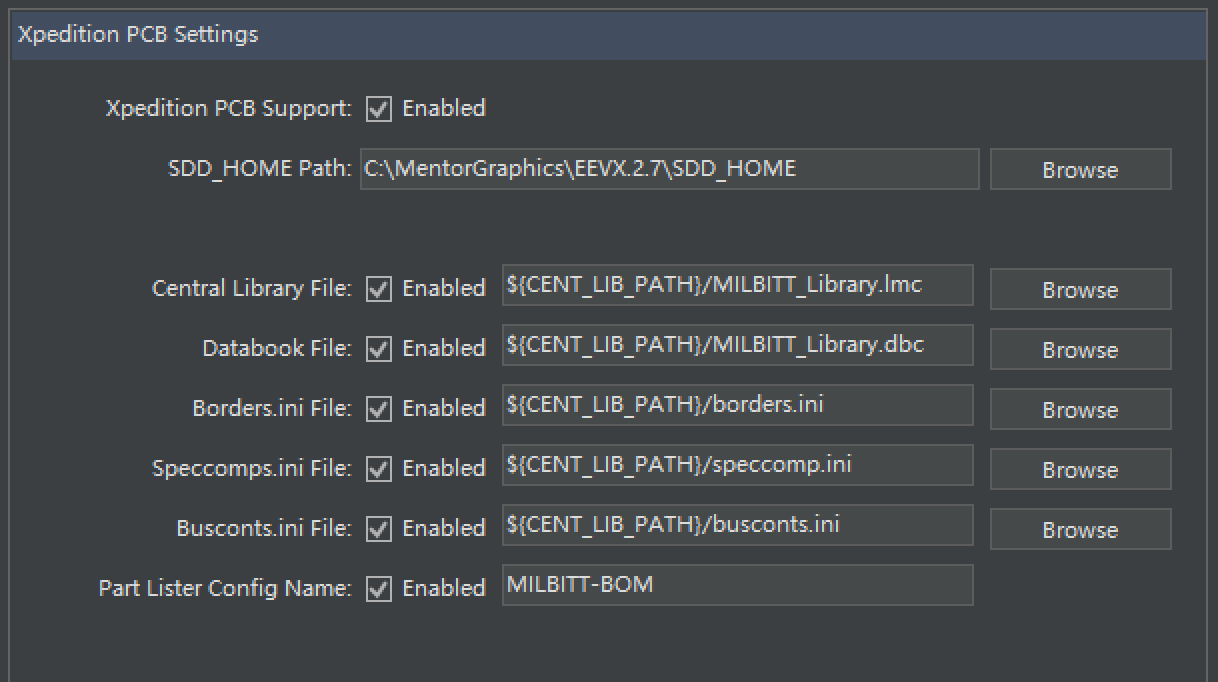
| Setting | Purpose |
|---|---|
| Xpedition PCB Support | Enable/disable Xpedition integration |
| SDD_HOME Path | Path to your Xpedition installation (SDD_HOME directory) |
| Central Library File | Override the CL path in PRJ files (optional) |
| Databook File | Override the Databook path in PRJ files (optional) |
| Borders.ini File | Override Borders.ini path (optional) |
| Speccomps.ini File | Override Speccomps.ini path (optional) |
| Busconts.ini File | Override Busconts.ini path (optional) |
| Part Lister Config Name | Override Part Lister configuration (optional) |
TIP
Path overrides support EEforce variables (e.g., %EXP_CENT_LIB_PATH%/Library.lmc) for portability across machines.
PADS Professional Settings
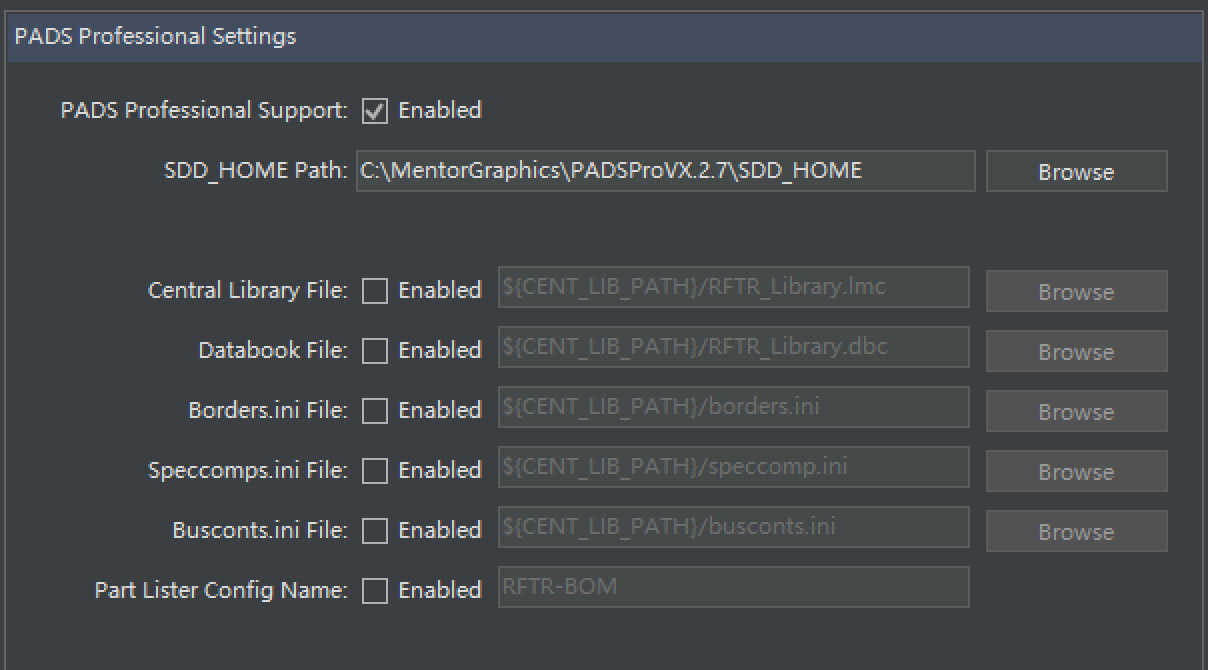
The same override options as Xpedition are available for PADS Professional installations.
BOM Preview Settings
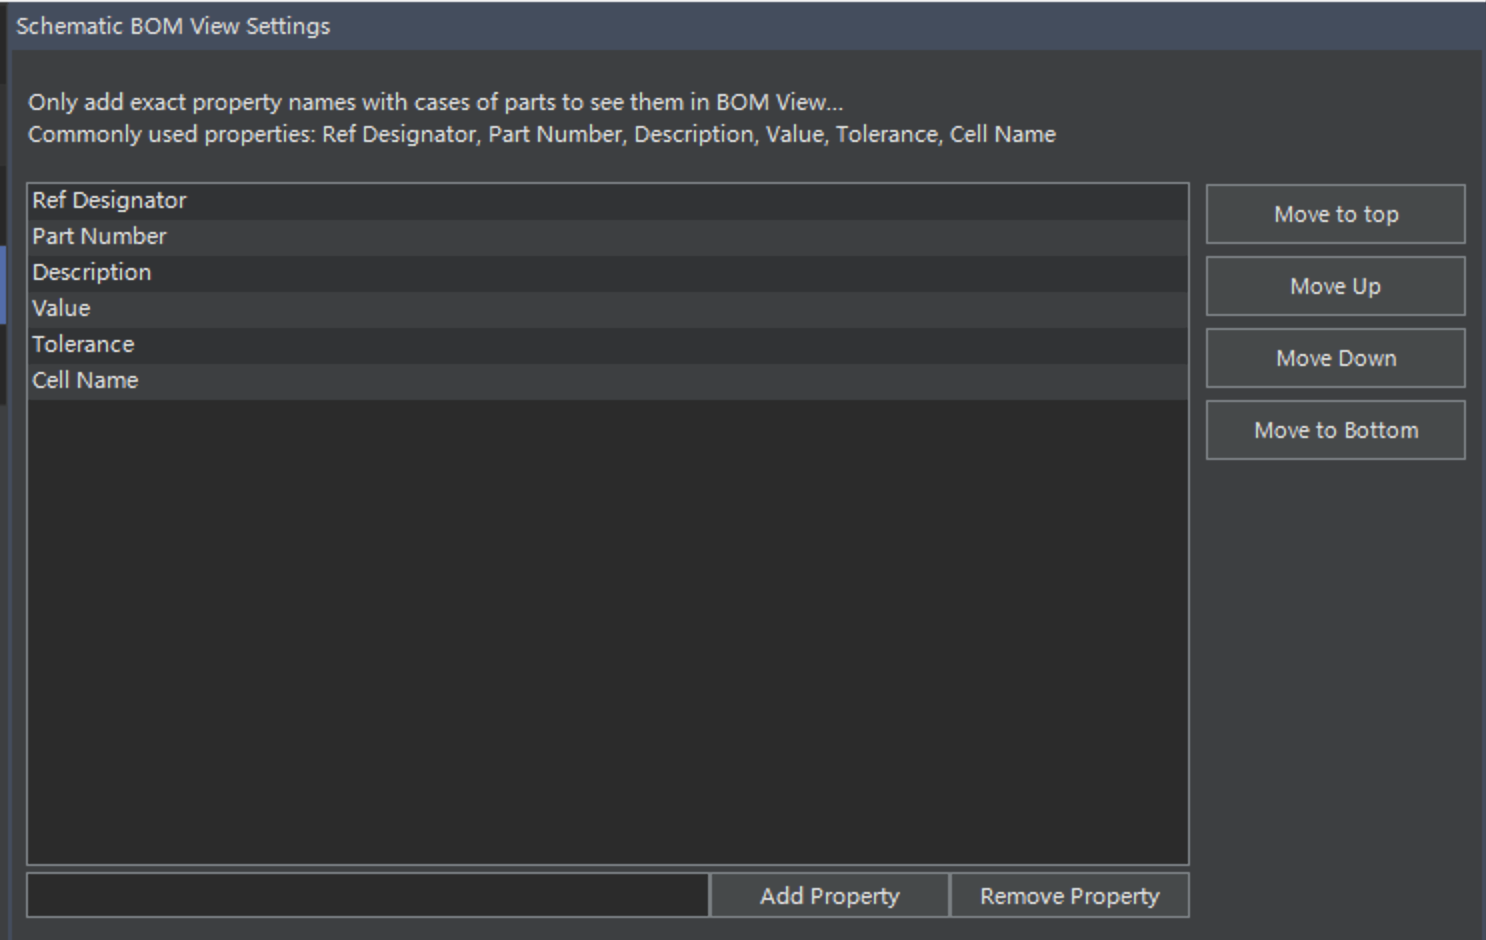
Configure which parameters appear in the built-in BOM previews:
Schematic BOM:
PCB BOM:
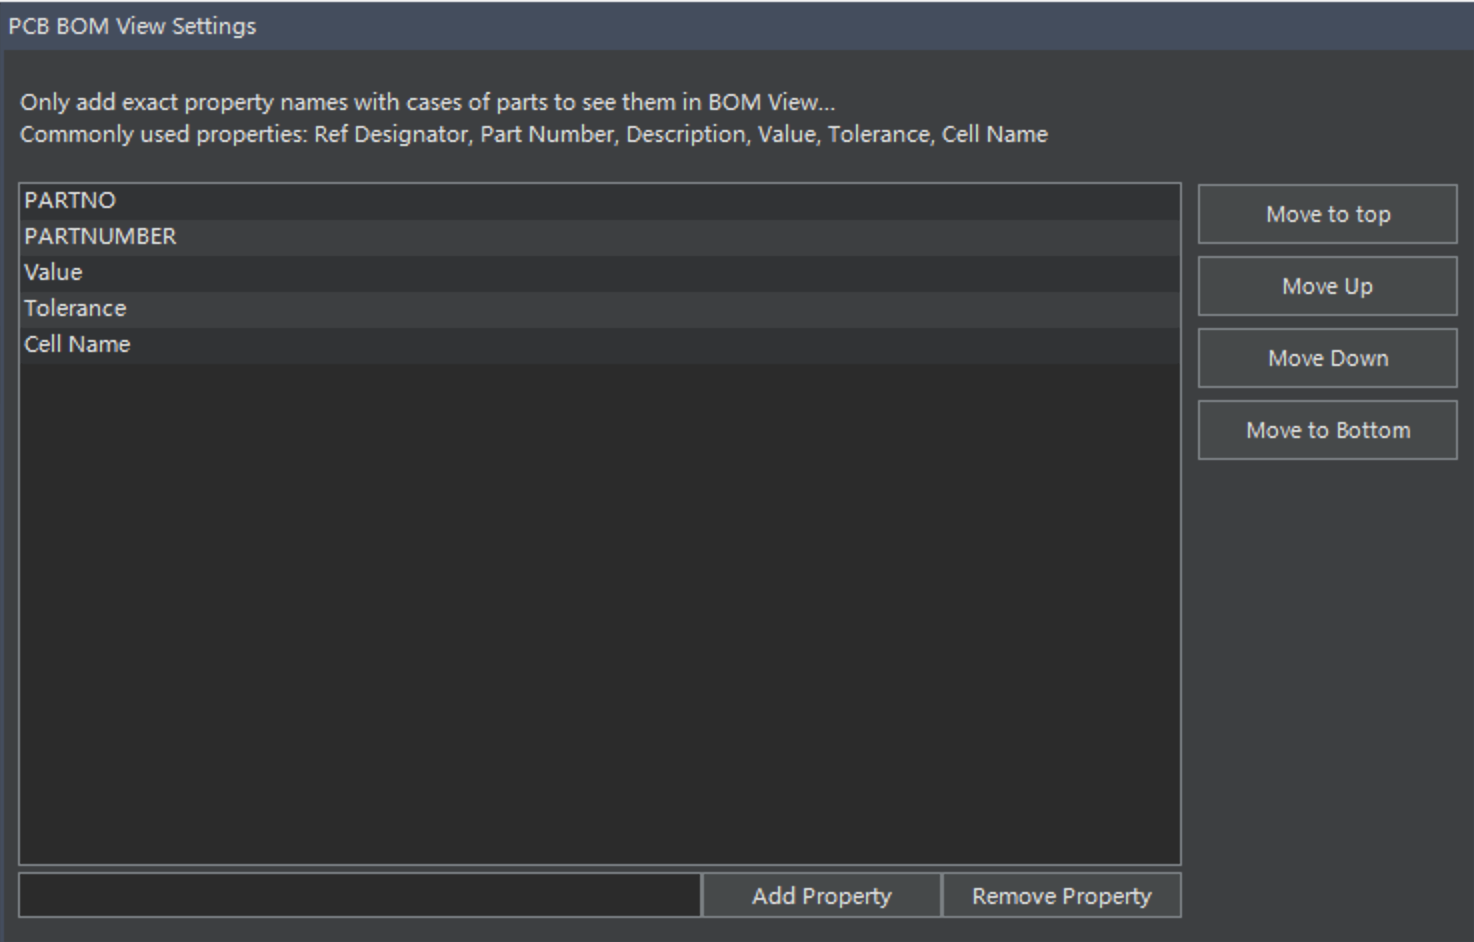
- Add or remove parameter columns
- Drag to reorder columns
Troubleshooting
| Symptom | Resolution |
|---|---|
| "Cannot connect to server" | Verify Server URL in Settings; check network/firewall |
| No licenses available | Confirm license file is installed on server; check license type matches your tool |
| Xpedition designs won't open | Verify SDD_HOME path points to a valid Xpedition installation |
| Slow file transfers | Enable chunked uploads in Server Settings; check network quality |