

Appearance
Server Installation and Configuration
Prerequisites
| Requirement | Details |
|---|---|
| OS | Windows Server 2022/2025 (Core, Essentials, Data Center) or Windows 10/11 (LTSC, Pro, Enterprise) |
| CPU | 4+ vCPUs recommended |
| RAM | 4 GB free when idle (minimum) |
| Storage | 20 GB+ on local disk; NVMe/SSD recommended |
| Swap | 4 GB recommended |
| Network | Reliable LAN between server and clients |
| License | Valid license file prepared for this machine |
| Backup | Windows shadow copy or equivalent backup solution |
WARNING
Using network-attached storage for the vault is supported but may reduce check-in/check-out performance. If used, ensure the IIS application pool identity has full read/write permissions on the network path.
Installation
Step 1 - Download and Extract
- Download the latest server package from the Support Portal. The file is named
Server_XX.X.zip(version numbers vary). - Extract the ZIP to a convenient folder.
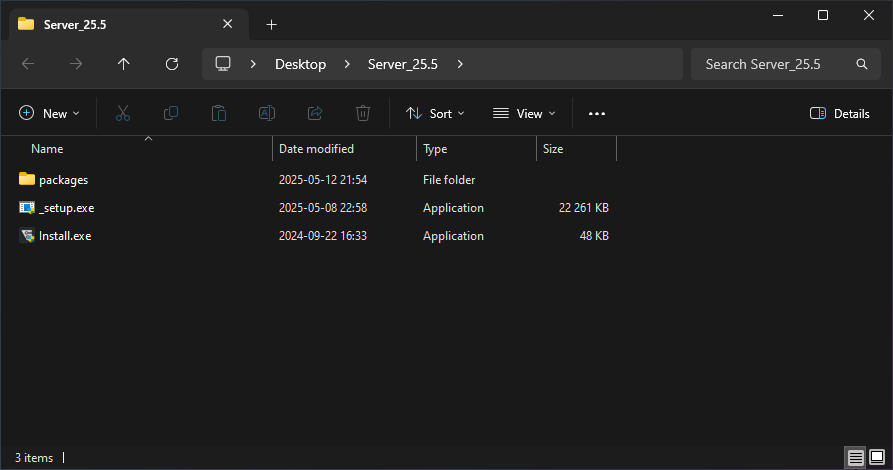
Step 2 - Run the Installer
- Run Install.exe. Grant administrator permissions if prompted by Windows.
- The welcome screen appears:
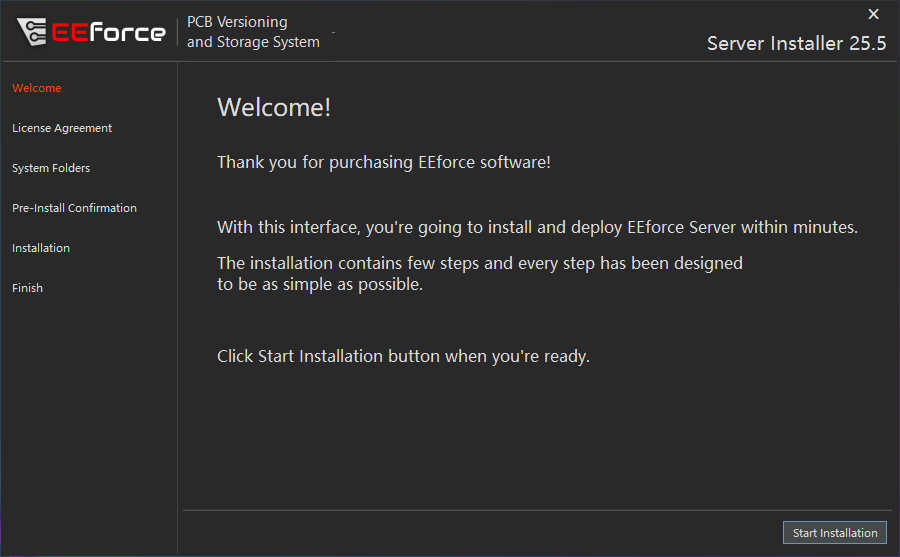
- Click Start Installation.
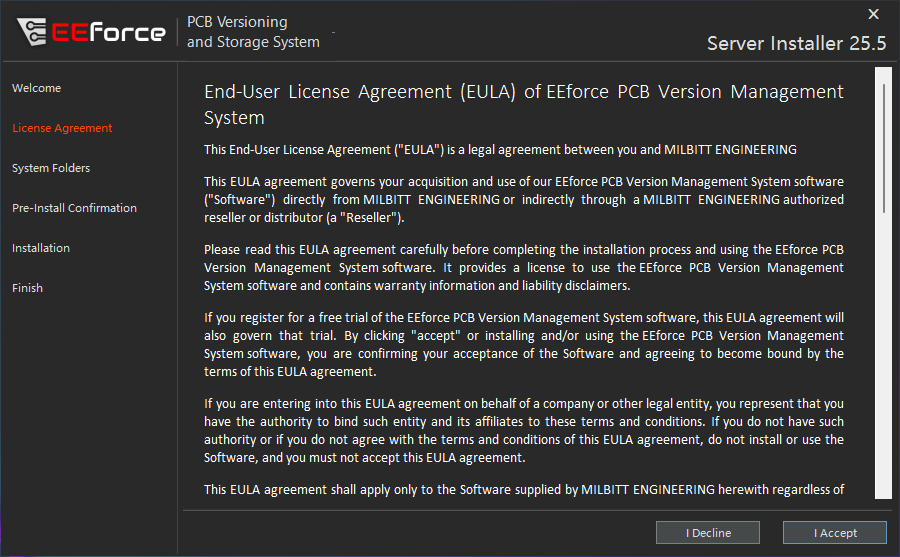
Step 3 - Accept the License Agreement
Read the End User License Agreement and click I Agree to proceed.
INFO
Accepting the EULA is a legally binding action.
Step 4 - Configure Paths
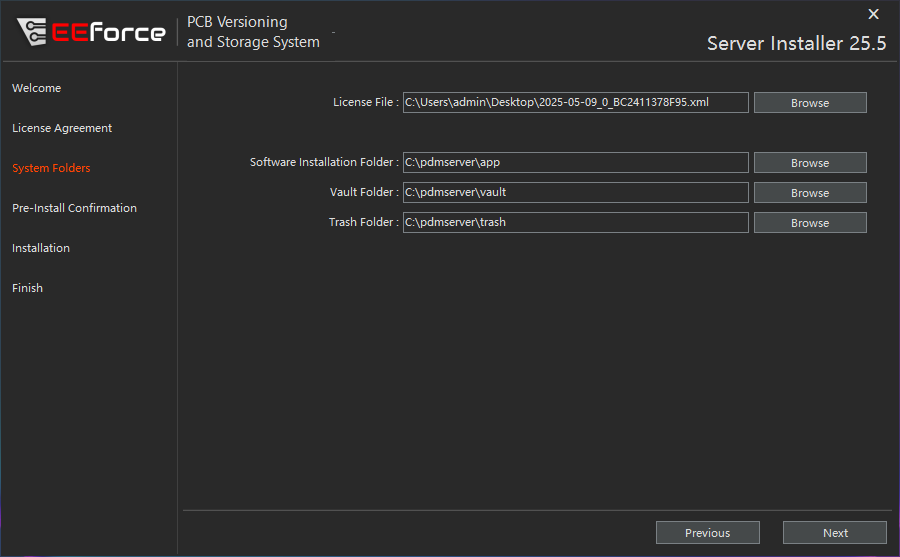
| Field | Purpose | Notes |
|---|---|---|
| License File | Authorizes the software to run on this machine | Obtain from your reseller |
| Software Installation Folder | Stores executables | Local drive; ~150 MB required |
| Vault Folder | Stores design files | 20 GB+ minimum; back up regularly |
| Trash Folder | Holds deleted designs before permanent removal | 5 GB+; clean manually as needed |
TIP
The Trash folder is a safety net - deleted projects are moved here rather than permanently erased. Schedule periodic cleanups to reclaim disk space.
Click Next when all fields are filled.
Step 5 - Confirm and Install
Review the summary screen:
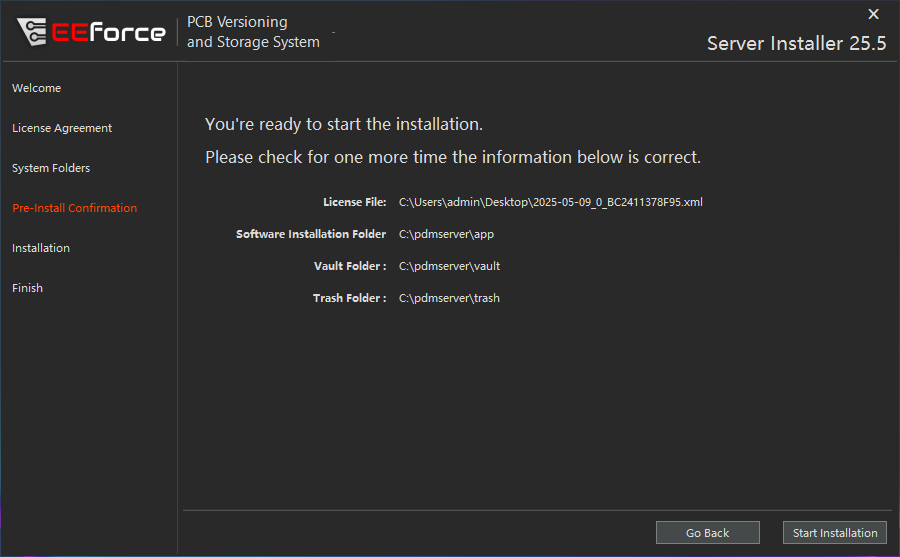
Click Start Installation. The installer will:
- Create required folders
- Install Windows prerequisites
- Deploy and configure the IIS application
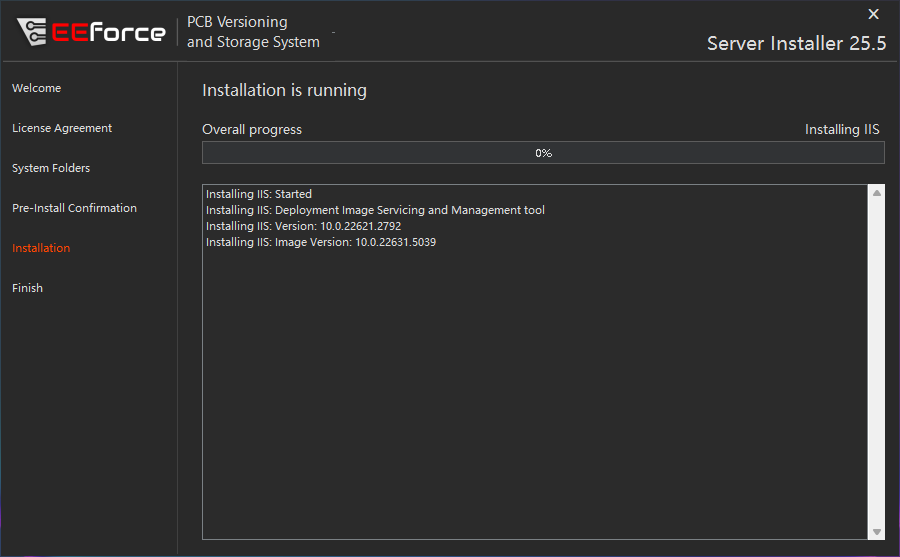
Step 6 - Complete
Note the server address shown on the completion screen - you will need it to configure clients.
Starting and Stopping the Server
The EEforce server runs as an IIS (Internet Information Services) application pool.
Using IIS Manager (GUI)
- Open IIS Manager: press
Win + R, typeinetmgr, press Enter. - In the left panel, expand your server name -> Application Pools.
- Locate EEForceApplicationPool.
- Right-click -> Start or Stop.
Using PowerShell
powershell
# Start the server
Start-WebAppPool -Name "EEForceApplicationPool"

# Stop the server
Stop-WebAppPool -Name "EEForceApplicationPool"
WARNING
Stopping the application pool makes EEforce unavailable to all users until it is started again. Ensure all users have completed their work before stopping.
Post-Installation Configuration
config.json
Server paths are defined in config\config.json inside the installation directory:
json
{
  "Configurations": {
    "VaultFolder": "C:\\pdmserver\\vault",
    "TrashFolder": "C:\\pdmserver\\trash"
  }
}
Edit this file with any text editor to relocate the vault or trash folder. Restart the server after making changes.
Relocating Storage
- Stop the EEforce server (see above).
- Move the vault folder to the new location.
- Update
config.jsonwith the new path. - Set permissions on the new folder (see below).
- Start the server.
Setting Folder Permissions
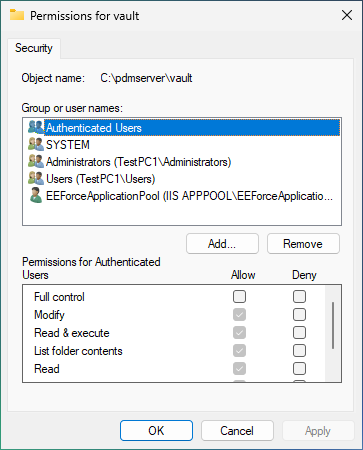
If you use a network drive or relocate storage, grant the IIS application pool identity full control:
- Identity:
IIS_APPPOOL\EEForceApplicationPool - Permissions: Full Control on vault and trash folders
SSL/TLS Configuration
EEforce does not manage SSL certificates directly. SSL termination is handled by IIS:
- Obtain a certificate from a trusted CA (or create a self-signed certificate for testing).
- Import the certificate into the server's certificate store.
- In IIS Manager, bind the certificate to the EEforce site on port 443.
TIP
If using a self-signed certificate, install it on all client machines to avoid connection errors.
Troubleshooting
| Symptom | Possible Cause | Resolution |
|---|---|---|
| Clients cannot connect | Firewall blocking port | Open port 8000 (or your configured port) in Windows Firewall |
| "Access denied" on vault operations | Incorrect folder permissions | Verify IIS_APPPOOL identity has Full Control |
| Server won't start after path change | Invalid path in config.json | Check path exists and is accessible |
| Slow check-in/check-out | Network storage latency | Move vault to local NVMe/SSD or ensure fast network path |