
Appearance
Project Operations
Project Naming Format
Projects are stored as folders in the Vault and must follow Windows naming conventions. This means:
- The name cannot be any of these reserved device names (with or without an extension):
CON,PRN,AUX,NUL,COM1–COM9,LPT1–LPT9 - The name cannot contain any of these characters:
<,>,:,",/,\\,|,?,*, or any control character (ASCII 0–31) - The name cannot end with a space or a period (
.) - The name must have at least one valid character
For more details, see the Microsoft naming conventions documentation.
Projects are the highest level structure in EEforce. Design files are stored as Containers and Containers are stored in Projects. Access permissions are set at the project level. Projects are stored in the Vault and are displayed in the Project Explorer section of the EEforce Client.
Using the Project Explorer Section
The Project Explorer section displays a list of projects. It includes a search option and a filter option. Your filter preferences are saved and restored when you reopen the software.
Filter Options:
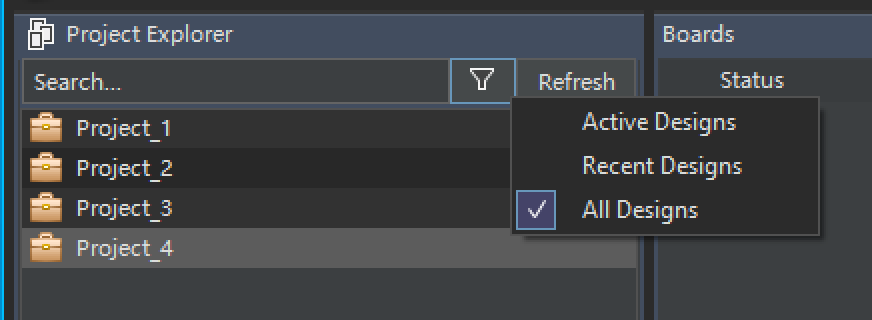
- Active Designs: Displays only projects containing a checked-out design. Check-outs can be performed by any user in the system.
- Recent Designs: Displays only projects that you have recently checked out.
- All Designs: Displays all projects in the system.
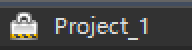
In the Project Explorer section, projects are displayed with different icons, each indicating a different status:
![]()
Read-Only Projects: The lock icon indicates that you do not have edit permissions for the project. You can open design content in read-only mode.

Available Projects: This is the default appearance for projects that you have edit rights for. This icon also indicates that no user is actively working on the project.
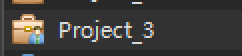
Actively Used Projects: This icon indicates that you have edit rights for the project, but another user is currently working on one or more designs within the project.

Active Projects: This icon indicates that you have edit rights for the project and that you have checked out one or more designs within the project.
Creating a New Project
To create a new project, follow the steps below. Note that only you and super users will be able to edit the project information.
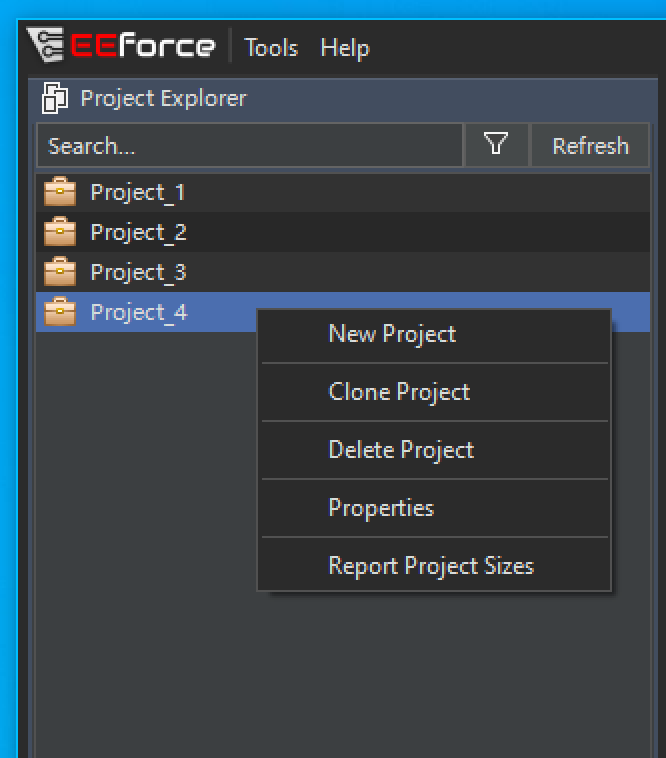
Right-click anywhere in the Project Explorer section.
Click the New Project button in the popup menu.
A dialog box will appear. Enter the name of the new project and click OK.
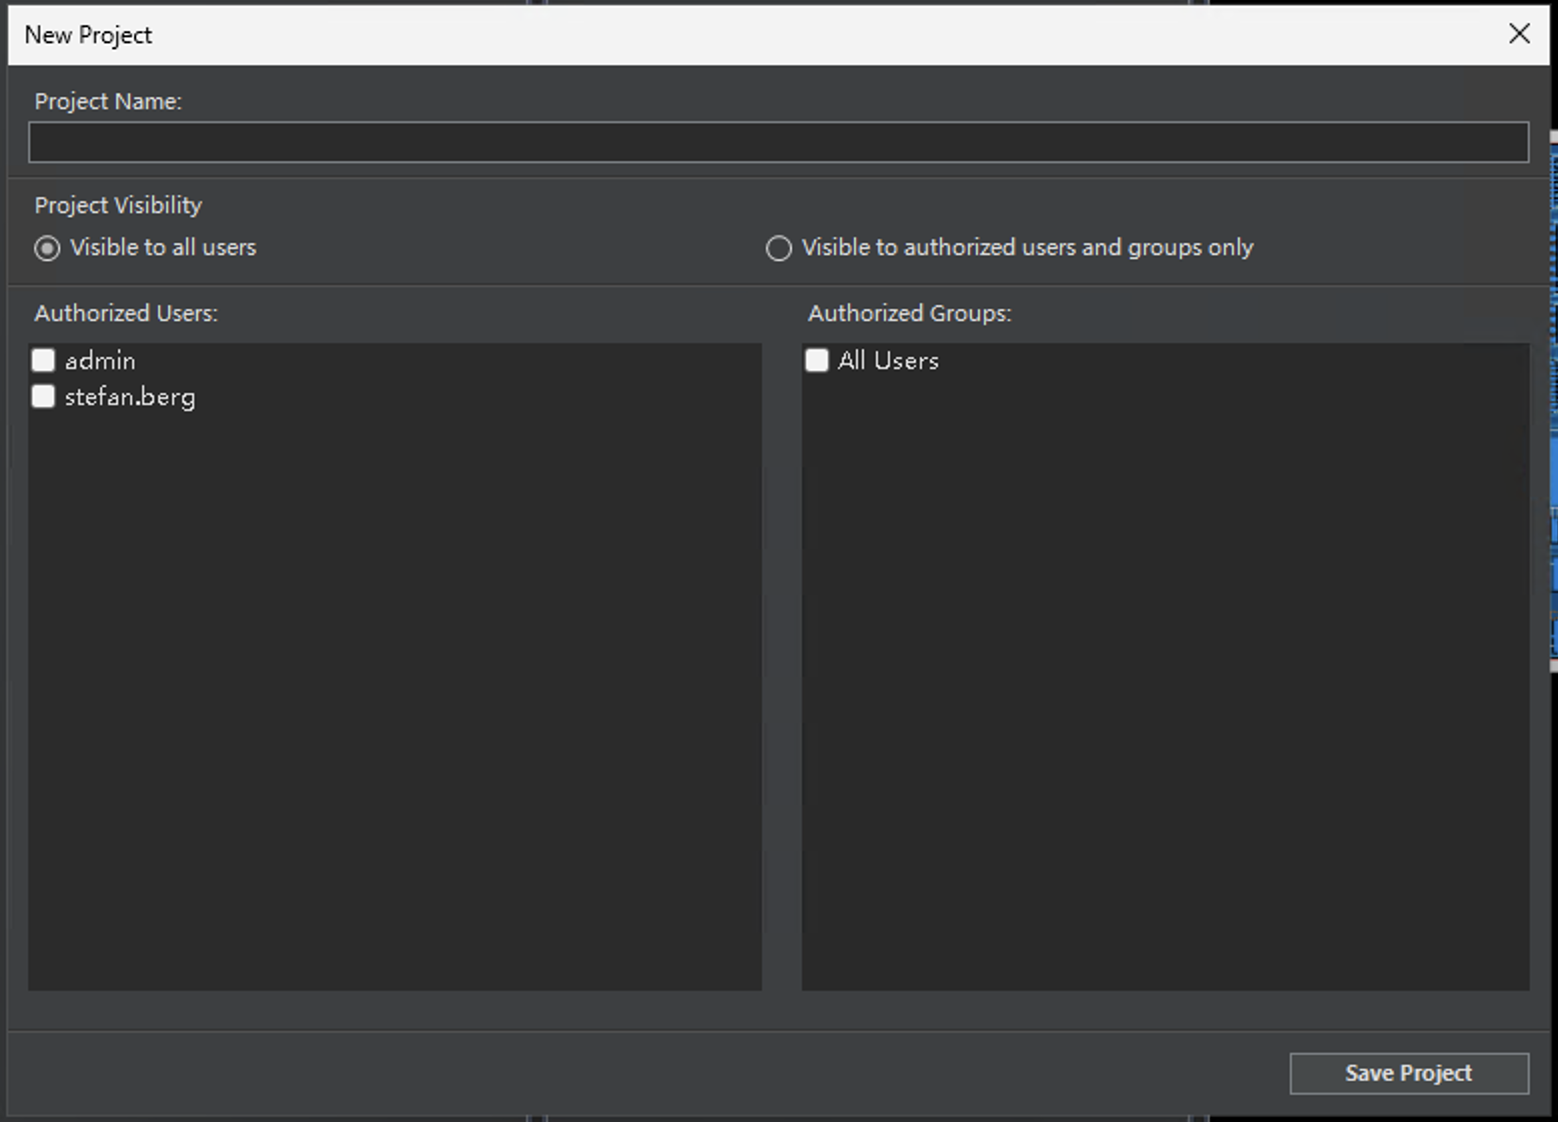
The new project should now be visible in the Project Explorer section.
Changing a Project Name
There must be no active check-outs in the project, and you must have editing permissions. To change the project name, follow the steps below:
Right-click the project name in the Project Explorer section.
Click the Properties button in the popup menu.
The Properties dialog box will appear:
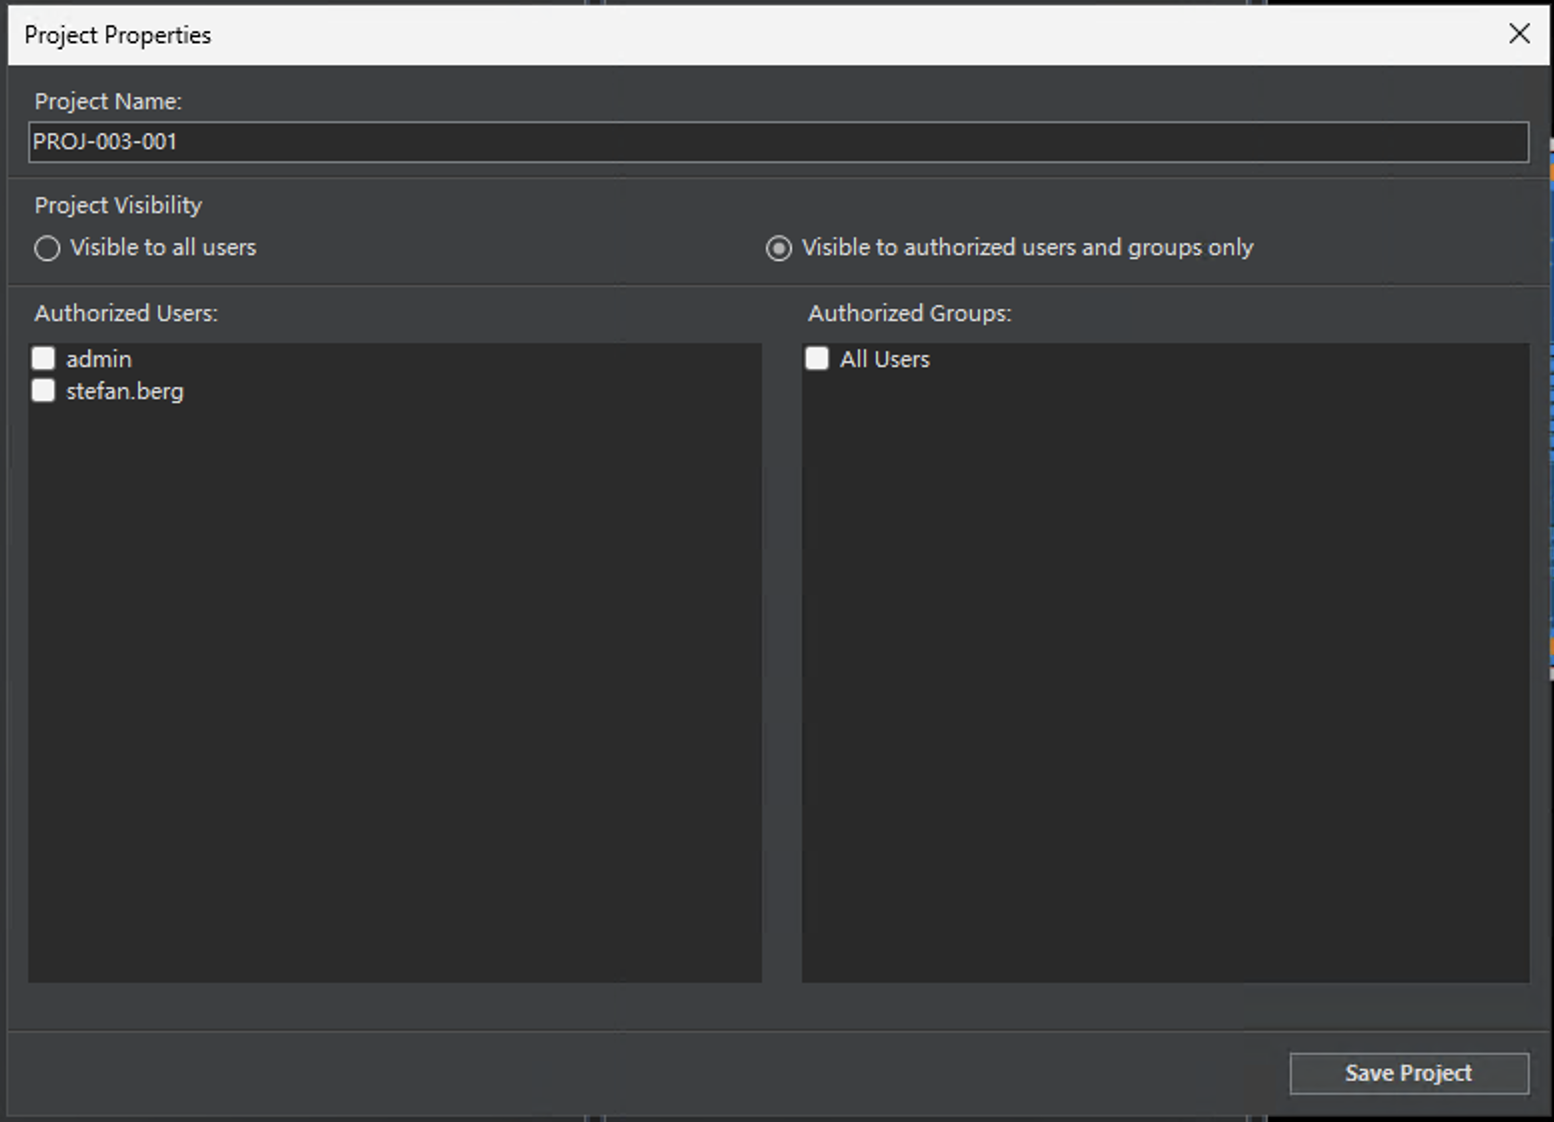
Enter the new name in the Project Name input box.
Click the Save Properties button.
Changing Project Users
There must be no active check-outs in the project, and you must have editing permissions. To change the project users, follow the steps below:
Right-click the project name in the Project Explorer section.
Click the Properties button in the popup menu.
The Properties dialog box will appear:
To add a new user: Select the user from the drop-down box below the Authorized Users list, and click the Add button.
To remove an existing user: Select the user in the Authorized Users List, and click the Remove Selected button.
Click the Save Properties button.
Cloning a Project
There must be no active check-outs in the project, and you must have editing permissions. Cloning a project will copy all design files to a new project. Follow the steps below:
Right-click the project name in the Project Explorer section.
Click the Clone Project button in the popup menu.
A dialog box will appear. Enter the name of the new project and click OK.
The cloned project should now be visible in the Project Explorer section.
Removing a Project
There must be no active check-outs in the project, and you must have editing permissions. Removing a project will also remove all contained designs. If you are sure you want to remove the project, follow the steps below:
- Right-click the project name in the Project Explorer section.
- Click the Delete Project button in the popup menu.
- A confirmation dialog will appear. If you are sure you want to remove the design, click OK.
- The project should be removed from the Project Explorer list.