
Appearance
Container Operations
Allowed and Forbidden Characters in Container Names
Allowed:
- English letters (A–Z, a–z)
- Numbers (0–9)
- Underscore (
_)
Forbidden:
- Spaces
- Special characters:
<,>,\\,:,",/
Container names must:
- Be unique
- Be between 3 and 40 characters long
- Only use allowed characters above
Examples of valid names:
Main_Container_01Project123Container_v2
Examples of invalid names:
Main Container(contains a space)Container#1(contains#)Bo(too short)Container/01(contains/)
Containers are versioned items which can be a PCB Design, Multi-Board Panel Design or a Folder container. EEforce stores container versions in the vault and allows users to check in and check out these versions.
When a user checks out a Container, the server automatically locates the latest or specified version and sends it to the user's computer.
When a user checks in a design, all design files on the local computer are packaged as a ZIP file and sent to the server. The server then stores this file in the project folder and updates its metadata.
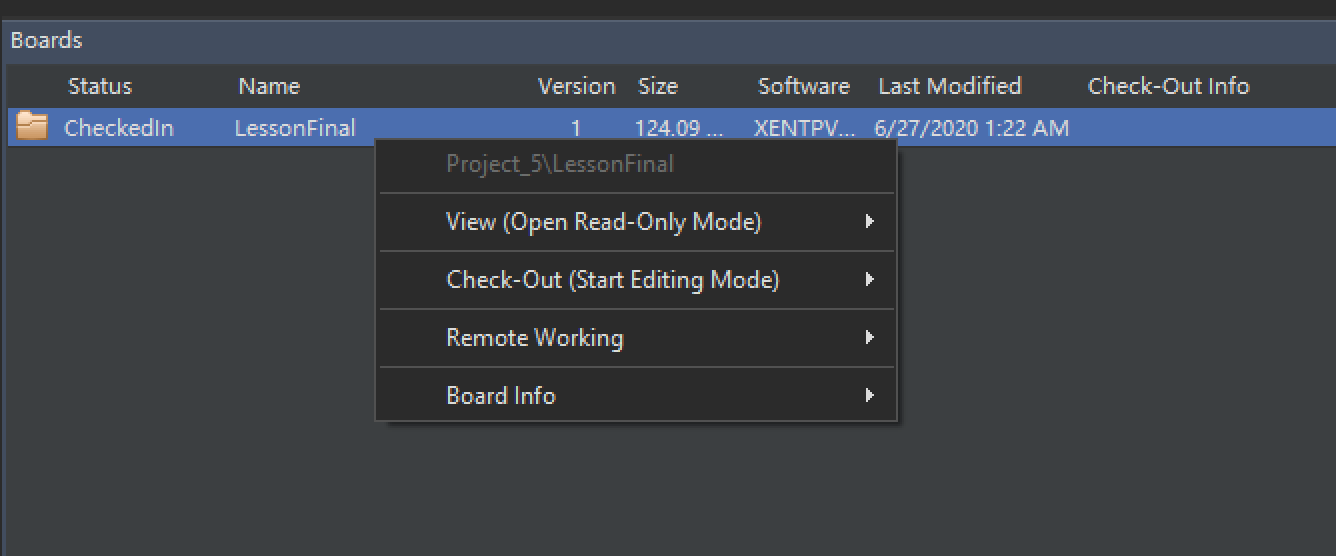
Container operations are accessed via the Right-Click Menu in the Containers section.
Importing a Container into a Project
To import an external design into a project, follow these steps:
Select the target project in the Project Explorer section. If you do not have a project yet, refer to the Creating New Project section.
After selecting the target project, right-click an empty area in the Containers section. A small menu will appear.

Click the Import Local Container button.
Locate the root folder of your design in the folder browser dialog.
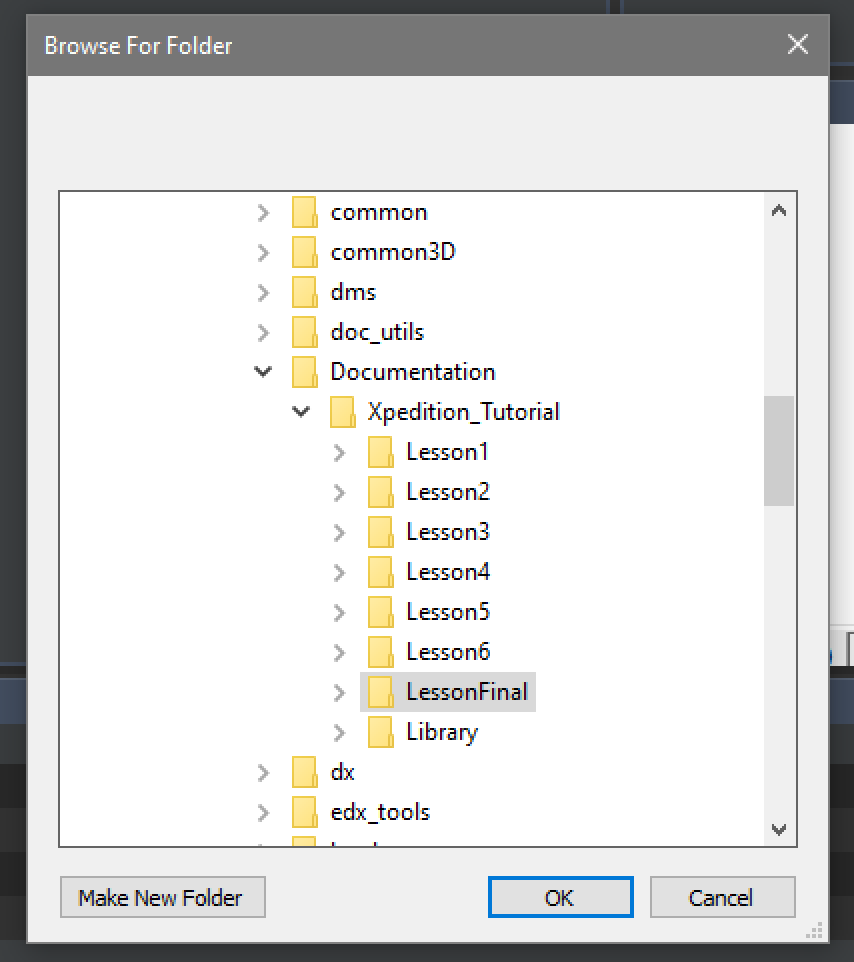
Ensure that you select the folder containing the project (schematic) file.
Wait for the process to complete, and monitor the status in the Operation Logs section.
Renaming a Container
Note: Renaming is only possible when the Container is in the Checked-In state.
- Right-click the Container.
- In the popup menu, go to Container Info and click the Rename button.
- A dialog box will appear. Enter the new name and click OK.
Cloning a Container
Note: Cloning is only possible when the Container is in the Checked-In state.
- Right-click the Container.
- In the popup menu, go to Container Info and click the Clone button.
- A dialog box will appear. Enter a name for the new Container and click OK.
Deleting a Container
Note: Deleting is only possible when the Container is in the Checked-In state.
- Right-click the Container.
- In the popup menu, go to Container Info and click the Delete button.
- A confirmation dialog will appear. If you are sure you want to delete the project, click OK.
Moving a Container to Another Project
Note: Moving is only possible when the Container is in the Checked-In state.
Right-click the Container.
In the popup menu, go to Container Info and click the Move/Copy to Another Project button.
A dialog box will appear.
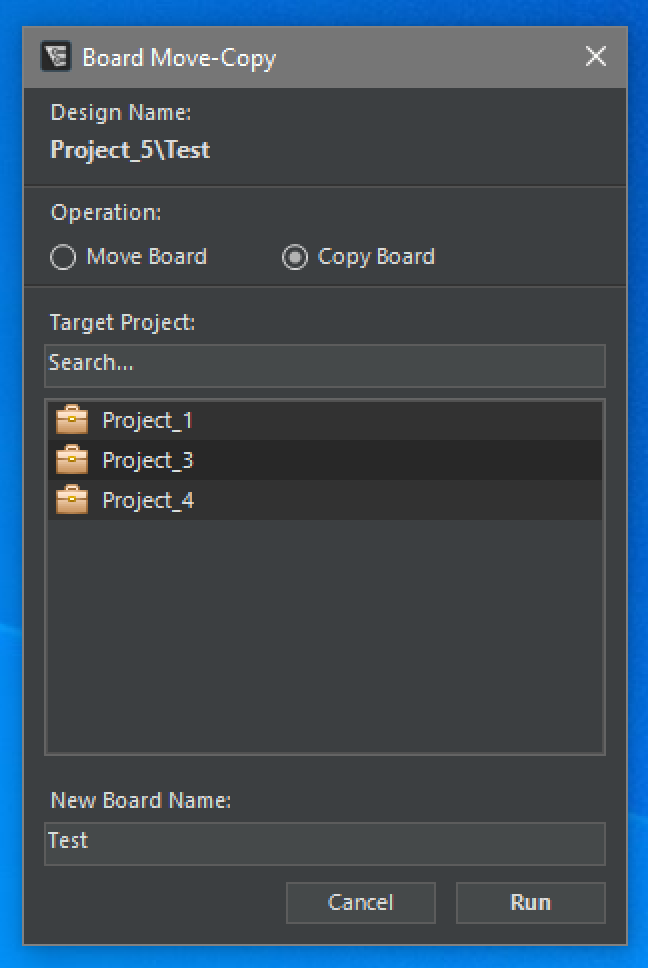
Select the Move Container option under the Operation section.
Select the target project from the list.
Enter a new name for the project, or leave it as is if you do not want to change the name.
Click OK.
Copying a Container to Another Project
Note: Copying is only possible when the Container is in the Checked-In state.
Right-click the Container.
In the popup menu, go to Container Info and click the Move/Copy to Another Project button.
A dialog box will appear.
Select the Copy Container option under the Operation section.
Select the target project from the list.
Enter a new name for the project, or leave it as is if you do not want to change the name.
Click OK.